
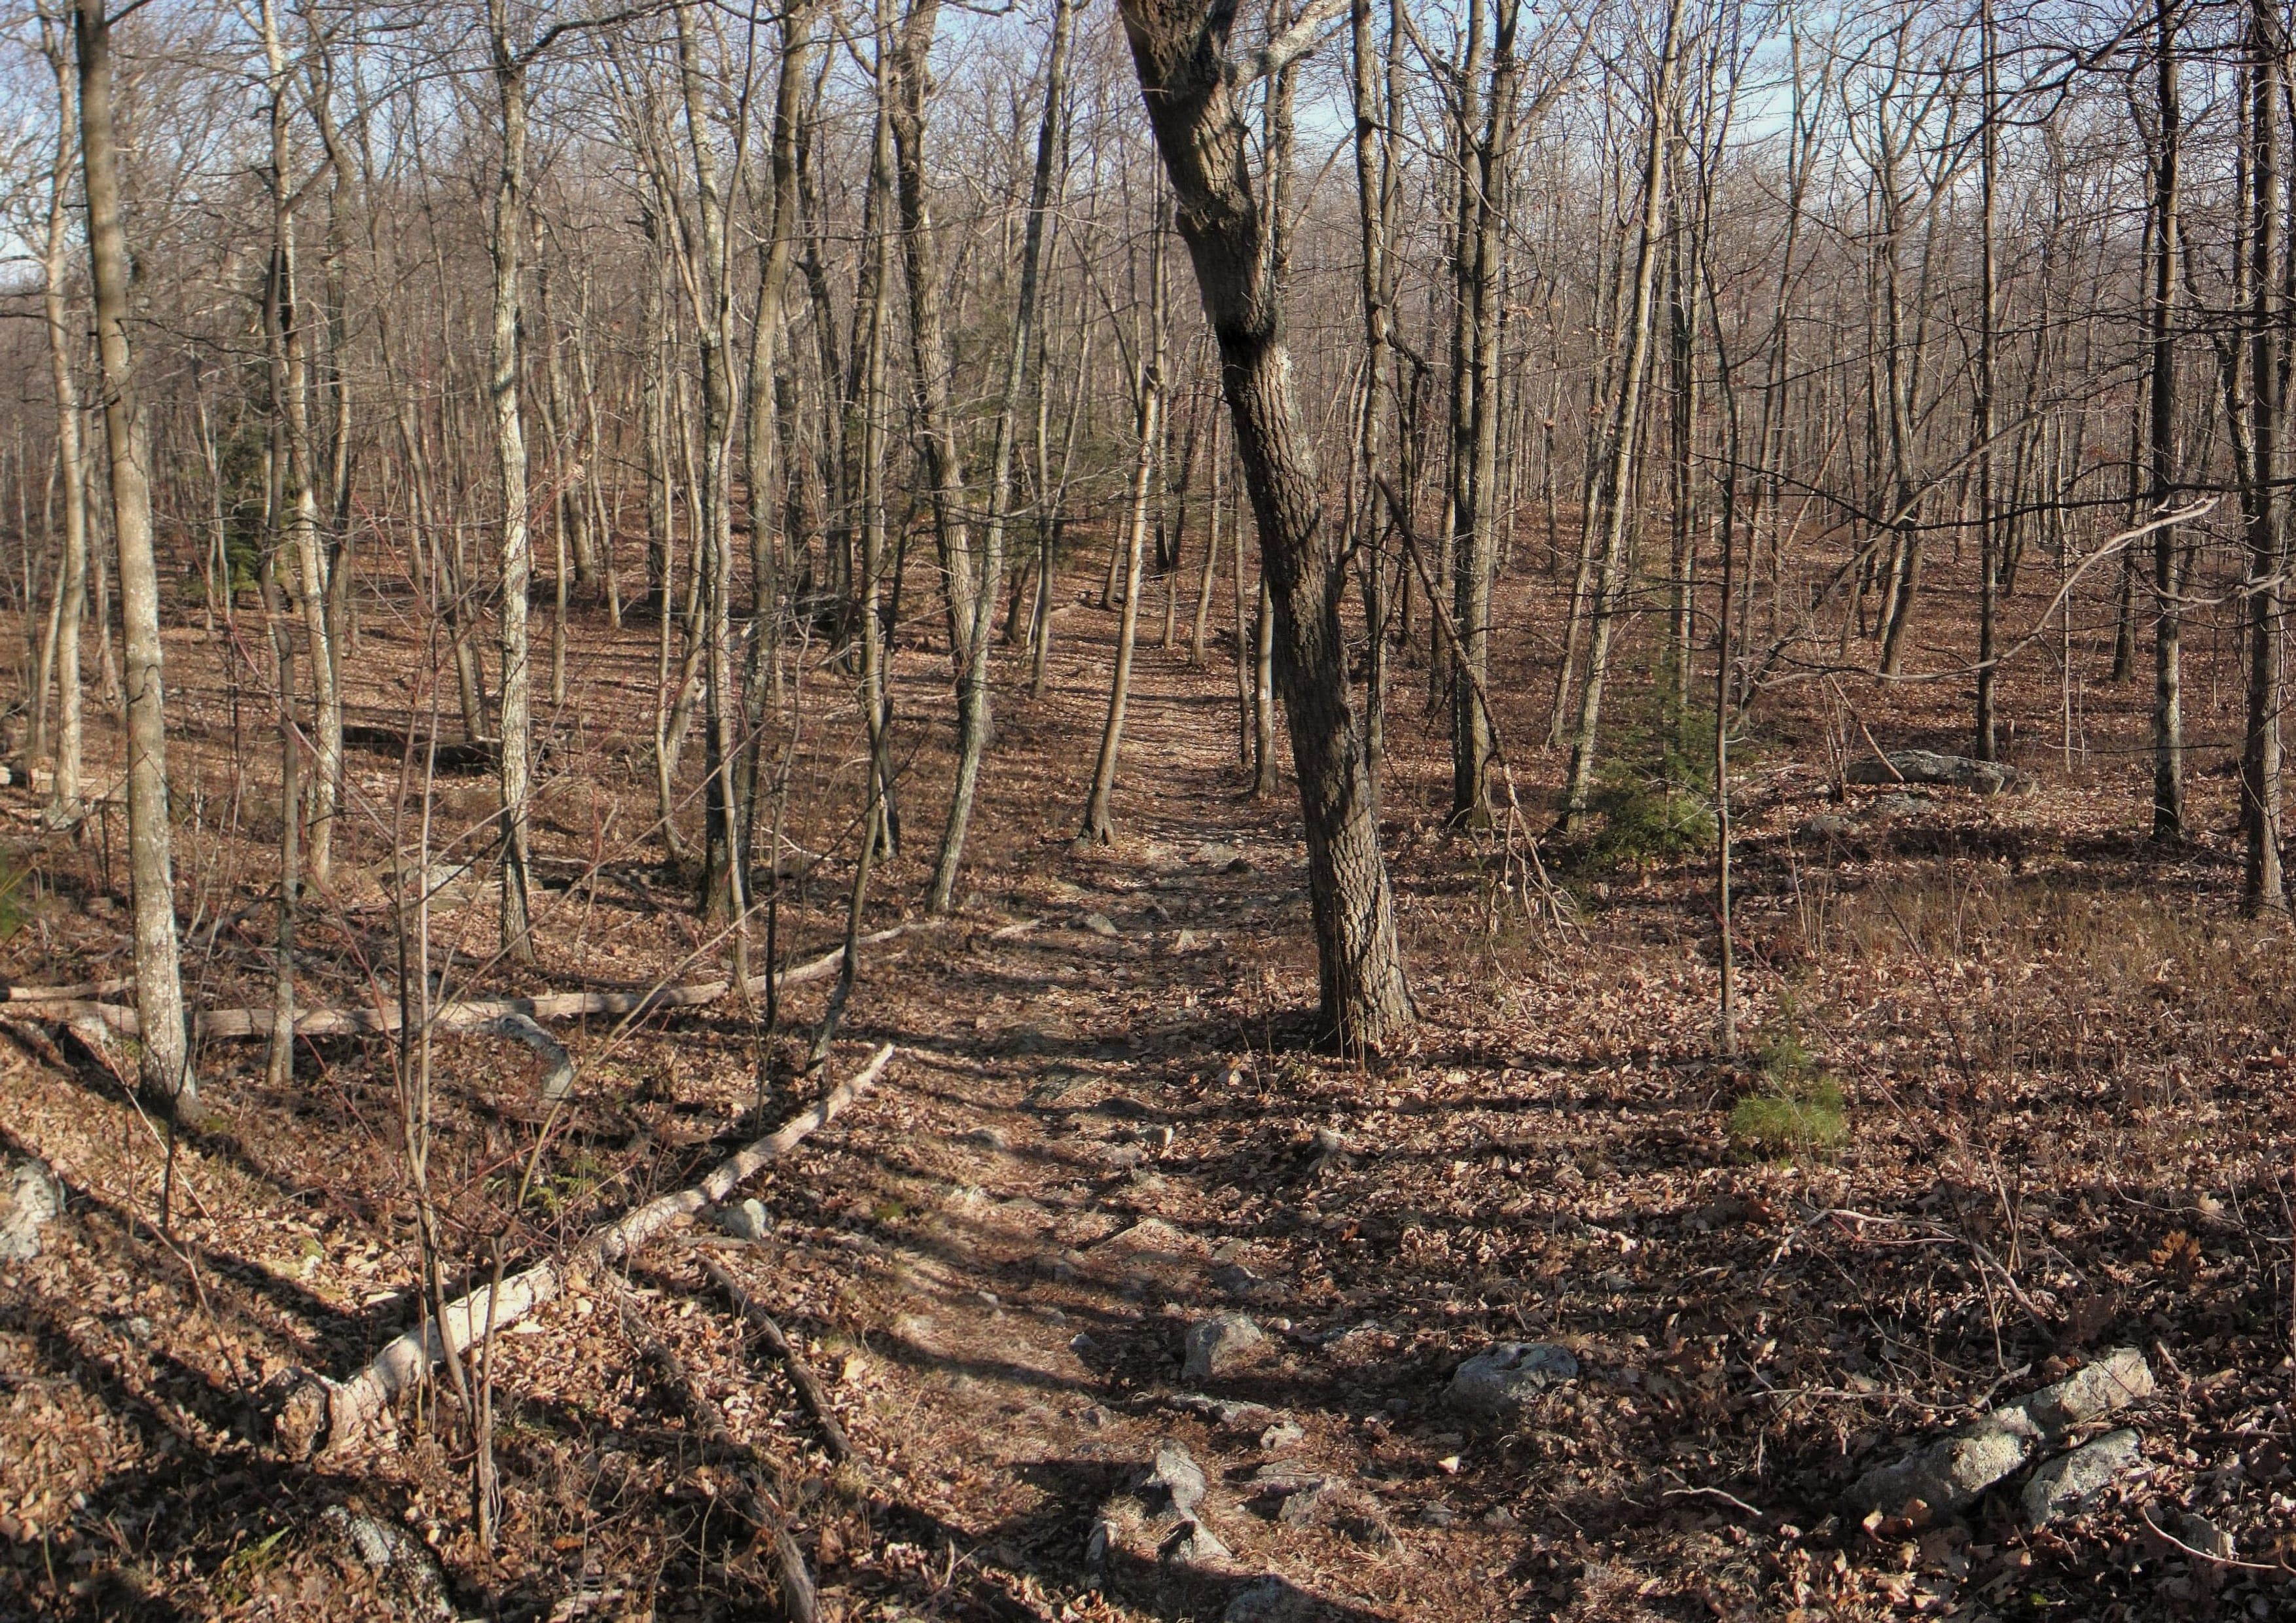
A coherent trail story
Completing a long-distance trail rarely produces one perfect piece of proof. The record is usually spread across a watch or phone, several activity files, photographs, trail stamps, bookings, permits, guide records and the hiker’s own account of what happened.
A strong verification application does not need to reconstruct every minute of the journey. It needs to present a coherent, proportionate trail story: which route you completed, when you completed it and what evidence reasonably supports that account.
The most useful evidence is usually collected naturally as the hike unfolds. Preparing before departure and preserving original records during the journey is far more reliable than trying to rebuild everything from screenshots months later.
Start before the trailhead
Open the relevant Verified Hikes trail page before setting out whenever possible. Check the accepted route and recognised variants, normal start and finish points, route-specific proof guidance, useful permits or stamps, and whether the journey is normally recorded over several activities.
You do not need to collect every possible evidence type. Preparation is about knowing which records are likely to matter for that particular trail. Confirm that your watch or phone has enough storage and battery capacity, that location recording is configured correctly and that you know how to export the original activity later.
Dedicated navigation and safety tools remain essential where the route requires them. Evidence recording is not a replacement for an appropriate map, official trail information, emergency planning or local advice.
Record the route where practical
GPX, FIT and TCX files are often the strongest starting point because they can connect movement, time and route shape. Depending on the device and format, an activity record may contain timestamps, track points, distance, elapsed and moving time, elevation, pauses, device information and activity type.
A trusted activity link from Garmin, Strava or another established platform can also provide useful context when an original export is unavailable. The original file is generally preferable because it preserves more of the underlying record and can be reviewed without depending entirely on a public profile.
A route recording does not have to look perfect. Batteries run flat, watches restart, tree cover affects positioning and multi-day journeys are often split into separate activities. Keep the useful original files and explain genuine gaps. Do not merge, redraw or edit tracks in a way that hides material facts.
Capture evidence during the hike
The most useful supporting evidence is usually gathered at meaningful points, not created afterwards. Consider retaining a small number of original photographs from the trailhead, distinctive signs or route markers, important passes or huts, route junctions relevant to the variant taken, stage endpoints and the recognised finish.
Photographs can help establish place, timing, weather, group context or the route followed. They are most useful when they add distinct information. Three recognisable photographs from different parts of the trail may support a completion more effectively than fifty nearly identical landscape images.
Keep trail passports, stamps and completion booklets intact. Retain permits and relevant booking records. Where a guide, trekking agency, club or event organiser is involved, keep the original confirmation rather than relying only on a cropped screenshot. Do not interrupt the hike merely to manufacture evidence.
Build a consistent trail story
Different evidence types answer different questions. A GPS track may show route shape and timing, but not necessarily who carried the device. A photograph may establish presence at a landmark, but not completion of the entire route. A permit may support access to an area, but not prove every walking section. A hut booking may help explain an itinerary without proving how the hiker travelled between locations.
Evidence becomes stronger when the pieces support one another. A clear application might contain FIT activities covering most walking days, photographs from the start, a mid-route pass and the finish, two trail stamps, a permit corresponding with the stated dates and a short note explaining one unrecorded section after the watch battery failed.
A large pile of repetitive screenshots is not necessarily stronger than a small, well-organised set of original records.
Explain dates honestly
Use the first and final walking dates for the completion range unless the trail policy requires another convention. Explain rest days, acclimatisation days, weather holds, zero-distance days, side trips, days recorded on another device, missing GPS segments, transport used to reach or leave the route and any material interruption.
Do not compress a multi-week journey into a false continuous date range merely to make the record look simpler. Accurate context allows the reviewer to understand the evidence without guessing. For historical completions, provide the most reliable dates you can support and state clearly when a date is approximate.
Identify the actual route variant
Many famous trails are not one fixed line. They may include recognised alternatives, high and low routes, seasonal diversions, optional side trips, multiple normal endpoints, transport connections, closure-affected sections or itineraries marketed under the same trail name but covering different distances.
Name the variant you took where possible. State the actual start and finish. Mention skipped or transport-assisted sections plainly. Do not force your account to match a single marketing distance. Verified Hikes uses reviewed route information and variable-distance wording where appropriate.
Where a full-route certificate is not supported, a section or accurately scoped variant may be more appropriate. The certificate should describe the completion supported by the evidence, not an exaggerated version of it.
Preserve original files
Original evidence is easier to assess than evidence that has passed through repeated exports, screenshots or messaging services. Where possible, upload the original GPX, FIT or TCX file, retain original photographs, avoid recompressing documents unnecessarily, keep dates and metadata intact and use the authenticated application area rather than email or public messages.
If an app provides only a share link, make sure the link opens the intended activity and does not expose unrelated private information. File integrity matters, but an untouched file is not automatically conclusive. It is one component of a wider human review.
Protect your privacy
GPS and activity files can reveal more than the trail itself. They may expose a home address, private accommodation, precise travel dates, daily routines, companions, photographs containing other people, booking references or permit identifiers.
Review your material before upload. Remove unrelated files and avoid submitting another person’s personal information unless it is relevant and you have permission. Do not publish raw GPS files, identity documents, permit numbers, booking references or original photo metadata on public pages or in public support messages.
Verified Hikes separates the private evidence layer from the public verification record. Authorised reviewers may access the evidence needed to assess the application. A person scanning an issued certificate sees privacy-controlled verification information, not the original GPS tracks, photographs, permits, payment information or reviewer correspondence.
What reviewers assess
A reviewer looks for consistency across trail identity, route variant, start and finish, completion dates, evidence sources, route coverage, timestamps, plausible movement, supporting context, explanations of gaps or deviations and the verification level available.
The review is human because hiking evidence is contextual. A broken device, a guided group, a pilgrimage passport, a permit system and an open route network all produce different kinds of records. Reviewers do not need a dramatic story, a public social-media history or unnecessary identity documents for an ordinary application.
The verification label must state what the evidence actually supports: Evidence Reviewed, GPS Evidence Reviewed, Photo + GPS Reviewed, Partner Confirmed or Authority Confirmed. Partner Confirmed and Authority Confirmed are used only through approved workflows. An ordinary independent review does not imply endorsement by a trail authority.
A clarification request is not a rejection
When one uncertainty prevents a decision, the reviewer may ask a focused clarification question. You might be asked to explain a gap in the route, upload one missing activity day, identify a transport-assisted section, confirm the actual start or finish, provide a clearer completion date, add one supporting record or explain why two files overlap.
Respond through the authenticated application dashboard so the answer remains attached to the review record. Do not create a duplicate application unless support specifically asks you to do so.
If the available evidence still cannot support the requested certificate, the application may be rejected or a more accurately scoped record may be suggested. Rejection means that the submitted material did not support the registry claim. It does not declare that the hike did not happen. Refund treatment depends on the review stage and the published Refund Policy.
Final proof checklist
Before submitting, confirm that the selected trail matches the route completed; the actual variant, start and finish are stated; the completion dates are accurate; original activity files are included where available; photographs add useful route context; relevant stamps, permits or confirmations are included; and gaps, diversions and transport sections are explained.
Check that private or unrelated information has been removed, the intended display name and privacy settings are correct and every upload contributes something useful.
A strong submission is not the largest submission. It is the clearest one. A coherent route record, a small set of meaningful supporting items, honest context and privacy-aware handling give the reviewer a defensible basis for a decision. They also allow the final certificate to remain simple, beautiful and safe to verify publicly.
Continue with your trail
Find the trail you completed, read its specific evidence guidance and start a private verification application when your records are ready. You can also use the Proof Guide, compare certificate pricing or read how public certificate verification works before submitting.